Install · Tutorial · Usage guide
Tutorial · Usage guide
Follow this tutorial after TomoTexture launches. Labels may vary slightly by version — confirm details in the readme on GitHub and each release note.
Always keep backups of your save data before editing. Stop writing to the save from other tools while editing.
What you can edit
- Foods — replace canvas artwork.
- Goods — treasure, music, games, etc. Video goods may not be supported in every release.
- Faces — textures on Miis.
Workflow
Select save folder — point TomoTexture at the folder that contains your Tomodachi Life save slots (the structure depends on how you export or copy saves from Citra or hardware — follow paths you already use for backups).
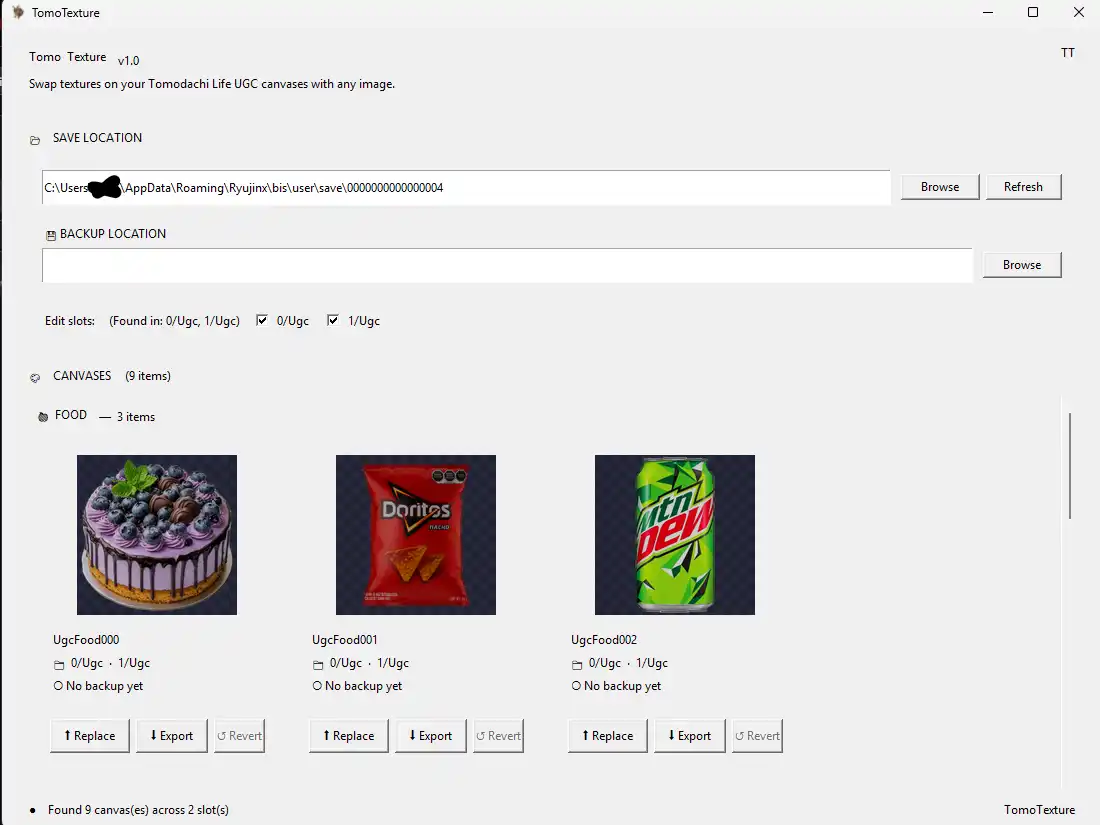
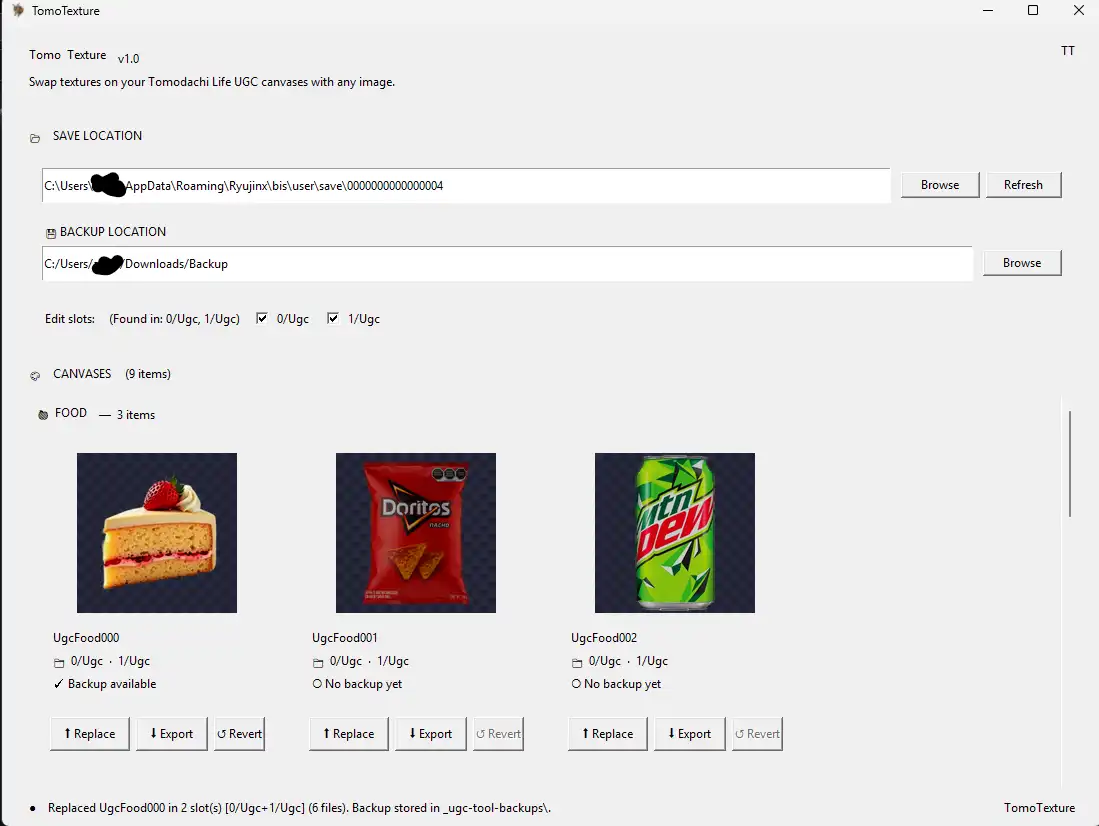
Backup location — when prompted, choose where backups should be stored. The app uses this before applying changes so you can revert mistakes.
Choose and replace — pick the drawing or canvas you want to swap. Fit your image to the in-game sprite layout (aspect and cropping matter — preview if the UI offers it).
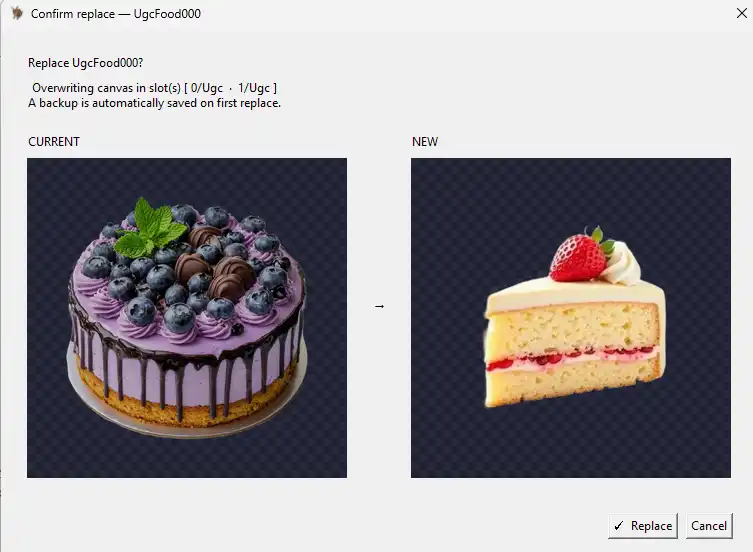
Confirm — apply changes, then verify in-game. If something looks wrong, restore from the backup TomoTexture created or from your own copy.
Tips
- Scroll through available images in the tool when browsing canvases.
- PNG images with transparency are supported where noted in release notes.
- If release notes mention Palette Workshop behaviour changes, prefer following the readme for your version.